Warning: Check This Before You Refinish & Paint a Clawfoot Tub!

There’s no denying that you probably have a lot of old treasures hidden away at home.

Some of those things may have been passed down from generation to generation. Some of those things may have ended up in a nasty storage unit that no one has opened for years. 

Yes, there’s a reason why there is even a purpose in doing those programs. A couple of people go around to various storage units across the country and bid on their contents without seeing what is inside. 

beatiful, well-lit bathroom

A lot of this stuff could be worth an absolute fortune when it has been rescued, perhaps refinished with a new coat of paint.

There will also be a lot of the stuff that ends up being stored in storage units. It won’t be worth salvaging because it is more of a headache than anything. 

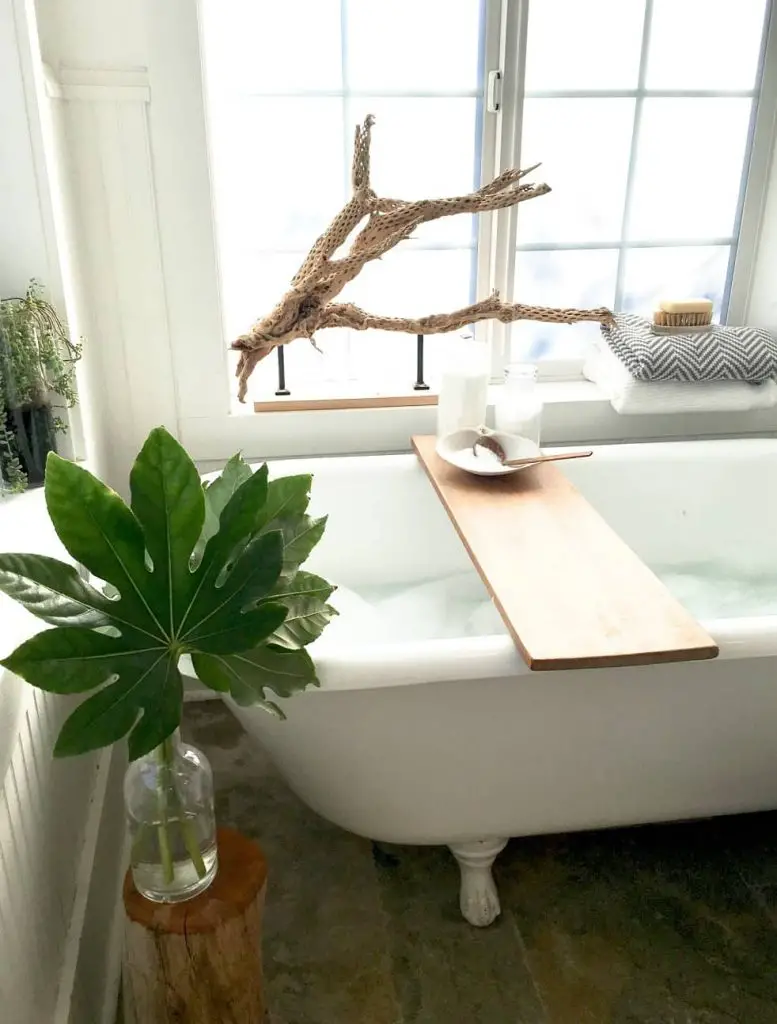
Maybe you have one of those old clawfoot tubs. There is a good reason why you may want to take the time to refinish and paint it. In this article, we will be talking about the process.

When you start looking online, there are other articles where people have rescued these things and given them a new life. They end up looking stunning.

Suppose that is what you want to do, great! However, it’s not quite as simple as it seems.

One of the main challenges of this type of tub is that it was made in an era where lead paint was very common. You will have to test whether or not it was used in this tub before you start doing any actual work on it. 

Suppose you are currently living in an old rental unit with many original appliances still in it. In that case, you may also want to get those tested out.

Make sure that your landlord is living up to the various obligations that he or she has to inform you about your rights. Also, ensure that the place has been adequately tested for lead paint

We usually blog about how hairline cracks can be an issue. We also have many other articles, like the one on XRF machines.

This article on refinishing clawfoot tubs is just an extension of these various articles. It is created to ensure that you and the ones you love are safe from the devastating effects of lead.

We would not want you to go about painting an old tub to realize that you ended up inhaling a bunch of this dangerous dust in the process.

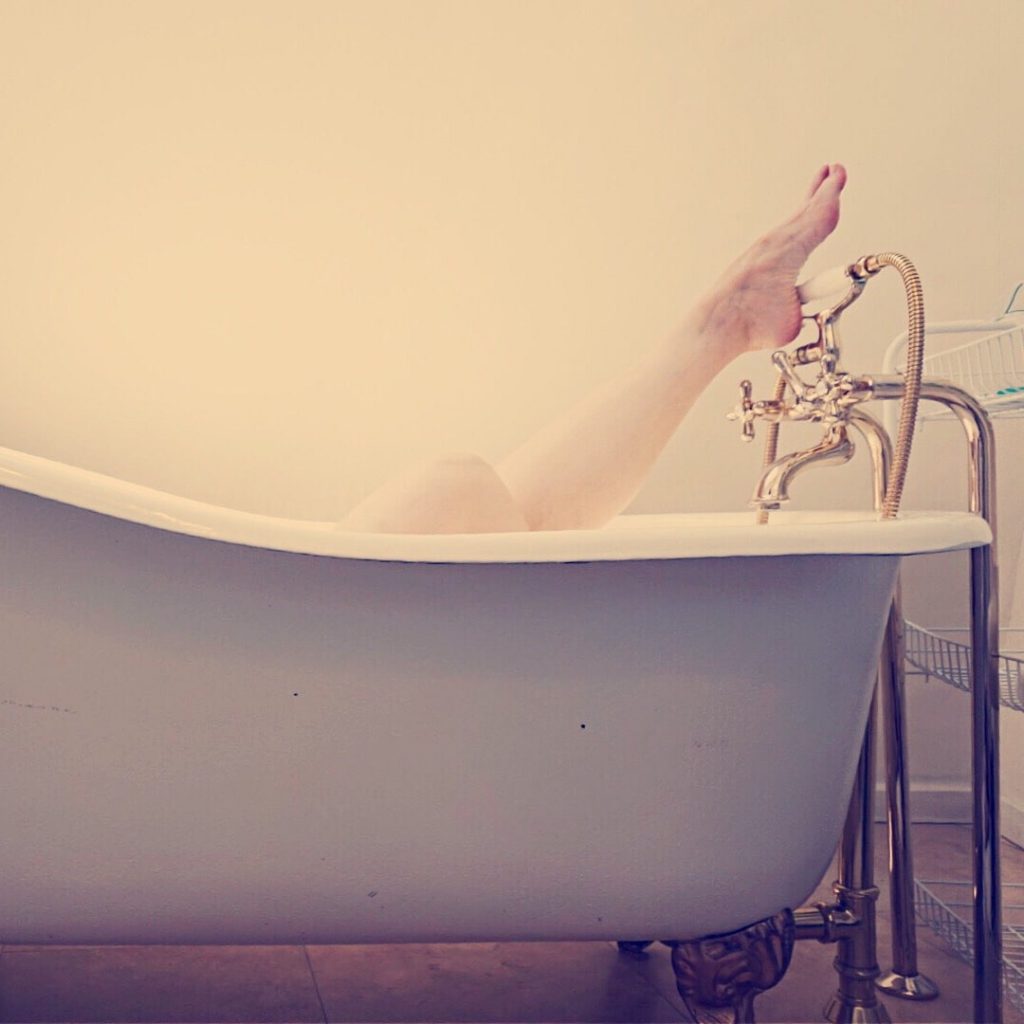
Let’s go ahead and get on with the topic of how you can put some new life into that old clawfoot bathtub. It has been hanging around your house for too long before getting the new life it deserves.

End up going the route of buying an old house. It could be that it comes with a bathtub that might have been very visually appealing back when originally installed.

clawfoot tub

Given that the house was not kept up over time, it deteriorated. Like the article that we previously linked to, you can see the ceiling coming down as well.

What’s important to mention is that refinishing one of these objects in an old home comes with challenges. They’re the same challenges that you will be experiencing when trying to bring an old radiator back to life.

First, you will need to find a way to strip away the paint. Then you will need to find a suitable way of bringing it into this century and bringing up to speed all the surrounding components. It’s like the rest of the bathroom. 

There are definite situations where you may want to buy an old home rather than build a new one. Having one of these bathtubs may be one of the charms that help you make up your mind.

If you haven’t already, read our article on whether it’s cheaper to buy an existing home or whether you should go out and try and build one instead

To get started with the information on refinishing an old tub, you must take certain safety precautions. 

Contents

  • Safety measures
  • Refinishing a cast iron tub
  • Paint stripping
  • Avoid health dangers
  • The regulations
  • Other lead sources

Safety measures

There are a lot of safety standards that weren’t the same back in the day.

These include the manufacturing of consumer products. Many people do not realize they may still have many dangerous products lying around their homes. The risk of lead exposure is rather significant, as an old bathtub is just one of them. 

Why is it especially important that you test a bathtub for lead? Certain conditions will cause paint to deteriorate faster. You may still be finding certain products around your home where the paint contains lead. However, it is only dangerous when the surface is disturbed or deteriorating. 

When you are going about revamping an old bathtub like that, there’s no denying that you will be disturbing the old paint.

You can’t simply paint on top of an old surface. It is usually in poor condition anyway when you want to refinish it when it gets to the stage. 

First, you will need to remove the old paint from the tub. While there is a range of ways to be done, they all have in common that the paint will be disturbed.

You should take safety precautions when you find out that it has lead in it. It is similar to how you would take safety precautions when you are encapsulating lead paint on the walls of your home

Refinishing a cast iron tub

You may consider sanding down the tub before you get started. We want to point out a couple of reasons you may want to be careful if that is the way that you choose to do it.

It’s very easy to go down to your local home improvement store and pick up a sanding tool. It is also the easiest way to ensure that you are spreading as much lead dust around the room as absolutely possible. That is, at least if the bathtub has been proven to contain lead paint. 

An alternative that we recommend is to use one of these paint strippers for the purpose instead. It has a significant amount of advantages for removing old paint while still keeping your family safe. 

Be aware that when you are sanding down an old cast iron tub, you aren’t just exposing yourself to the potential dust. It is thrown all over the place when it is happening. Lead dust can be very dangerous if not handled properly.

Suppose you aren’t carefully protecting yourself and your home. In that case, all the dust can settle on various surfaces. It can then subsequently be inhaled and accumulate in your system. At this point, it becomes a danger to your health.

You may have thought that you were adequately protecting yourself in the process. More measures need to be taken to ensure that your bathtub remodeling project doesn’t end up causing elevated lead levels.

This is especially the case when you have a child who lives in the same home!

Children are a lot more at risk than adults regarding lead exposure. This can lead to a range of really unfortunate life-lasting consequences like developmental delay when exposed to lead.

It can also cause kidney damage and more. Even if you may not be too concerned with exposure to this potentially harmful type of paint, at least keep your kids safe. Consider proper protective measures for the sake of keeping your kids safe. 

Paint stripping

Ideally, you should not begin the paint removal process when the tub is standing somewhere where it is easy for lead particles to settle.

You should be putting it in an area that is easy to seal off with plastic sheeting. Make sure that you can easily throw away the plastic when you are done with the project.

When you are using a sander rather than removing the existing layers of paint with a chemical solution, there are other problems.

Sanding a surface area will usually cause the surface to become dry. At that point, a lot more dust is spread into the room. It happens with the turning motion of the sander.

On the other hand, the chemical solution that we talked about previously will adequately address the different layers of paint. At that point, they will easily come off. Make sure that you are following the manufacturer’s recommendations in either case. 

We would also like to caution as we have seen other sites not recommend taking proper precautions.

You should both seal off the entire space you are working on and wear the necessary protective headgear. It includes the necessary lead respirator.

If you choose to do this type of work yourself and use a HEPA vacuum when you are done with the process.

This will ensure that you can properly clean up the area. Ensure that those nasty particles may have gone places where they shouldn’t and are being properly cleaned up. 

Avoid health dangers

After all, you want to make sure that no one in your family ends up with long-term health consequences. You were trying to refinish a bathtub that you have back from when you bought a house falling apart, and health consequences pursued. 

beautiful, well-lit bathroom

When doing this, make sure that you are staying on top of everything and taking all the necessary precautions.

You may want to bring the bathtub or perhaps the entire bathroom back to its original glory. It’s still a task that you will want to be done responsibly.

Suppose you have to do so for a while. It may be good to move the bathtub to a safe storage location where its deteriorating paint doesn’t become an issue for someone.

Maybe you start seeing lead paint flaking. It will release those dangerous lead particles you don’t want to end up being exposed to. It’s at least unless you are wearing the necessary protection for it.

You will also want to make sure that you wear disposable clothing when getting rid of the old paint. It’s better and safer than old clothing, whether you utilize a sander or a paint removal solution.

It’s important to be aware of the potential dangers associated with the deteriorating paint on the tub. It’s also important to know that you should also otherwise be addressing deteriorating paint in an old home. It has the potential to cause issues. 

Consider remodeling the entire bathroom, assuming that the tub is going into the same location that it was previously in. You don’t want to be putting a new and revived bathtub into a space where it simply seems out of place. 

Suppose you are going about doing an entire remodel of the bathroom. Ensure that what you have in mind for the bathtub will fit with the rest of the setup.

You don’t want to end up spending this much time and money on fully revamping the bathtub and not doing it right. Avoid finding out that you don’t think it matches the look you were otherwise going with, as you’re reinstalling it.

Suppose you haven’t already tested the tub for the presence of lead. Go about the whole situation as if you are fully convinced that it suffers from a bad case of lead paint inclusion.

We wish it wouldn’t be something you had to worry about. The chances are that it is. It’s important, given that the legislation surrounding this paint’s use isn’t all that old.

The regulations

Homes may have had lead paint banned from them in 1977, and homes built before 1978 require that lead testing be done and documented. Many things would still have lead in them long past this year.

It wasn’t until 1992 that lead was banned in consumer products. It means if you have a bathtub older than that date, there is a significant risk that you could unnecessarily be exposing yourself. Avoid unnecessary exposure to some of these dangerous metals. 

You must protect yourself whenever you are doing something that could be endangering the surface. You may want to give an old tub like this a good cleaning. Be careful to ensure that you aren’t doing anything that will hurt yourself in the process.

Getting good plastic gloves when you are cleaning the inside of the tub will not just keep lead particles from sticking to your hands. Still, they will also provide a protective coating against the strong chemicals.

This may be required to clean off all the dirt accumulated over years of use and perhaps a lack of proper cleaning in a long time!

Steel wool may be an option you consider when you start getting desperate to clean the tub. It’s important to know of its abrasive nature and that it could be damaging the paint as a consequence.

Steel wool could also easily create some ugly scratch marks on the top of the surface that you wouldn’t want to be looking at.

These could end up meaning that you might have to call in a pro to get the job done rather than trying to do it yourself. 

We have collected a couple of different suggestions for the type of chemicals to consider for the cleaning part of the job. However, you might already have chemicals at home that are both strong and that you think would be good for the purpose. 

Here are our recommendations: 

Bar Keepers Friend Soft Cleanser

Where to use it

Where to use itWhere not to use it
ShowersGold
SinksSilver
TilePolished stone fx marble or granite
DoorsColored grout
ShowerLacquered, painted, or mirrored surfaces
Sink
Countertop

Mr. Clean Magic Eraser Extra Durable

Where to use it

        • Bathroom
        • Bathtub
        • Doors
        • Light switches
        • Oven door
        • Wall and much more

        Where not to use it

        • high gloss
        • polished
        • dark
        • brushed
        • satin
        • faux
        • bare/polished wood
        • copper
        • stainless steel
        • non-stick coating or
        • vehicle body
        Bar Keepers Friend Soft CleanserMr. Clean Magic Eraser Extra Durable
        Price11,99$13,24$
        Volume13 fluid oz10 pads
        NotesNon Abrasive. Textured melamine sponge for tough cleaning task. Wet. Squeeze. ErasePowerful clean with water alone. No harsh chemicals added. Store in a cool place

        Those will be some of the recommendations you will find when looking around online. However, you may be dealing with stains so ingrained that even those two chemicals. While both are very powerful, they will have a hard time getting the job done. 

        When you have an old bathtub with a significant amount of rust, it is no surprise that getting that rust off can be quite the challenge. 

        When you put your mind to it, you will likely be able to bring the tub back close to its former glory simply by properly cleaning it.

        When you are done scrubbing and putting in the effort, you might even get to a situation where you don’t think refinishing the tub’s interior is needed. 

        The outside of a tub rarely has the protective coating that the inside has. It means there is a fair chance that this part of the project won’t be as forgiving with a round of cleaning as the inside may be.

        An old tub will usually have a significant amount of flaking paint. Before you start doing anything that includes giving it a new coat of paint, you will have to remove those uneven surfaces. 

        Test the tub early on for the presence of lead. You may very well end up choosing that it is better to replace it than refinish it if it turns out that your bathtub does have lead paint. 

        Water is a material that will cause wear and tear. It’s especially if the material and the paint applied aren’t intended to withstand the destructive force of water. 

        We cannot stress enough how much you may want to give up the project if the tub proves to have lead paint on it.

        Suppose you do find out that it includes the material. In that case, we encourage you to read our article on the topic of inner-city schools.

        Year
        Lead prohibited in paint1978
        Lead prohibited in consumer products1992

        While not being the only issue, deteriorating lead paint is just one of these schools’ issues. It can cause elevated blood lead levels. 

        Suppose your kids are going to be bathing in the bathtub. You don’t want them to start chewing on old, flaky paint accidentally. You want it even less so if it is as dangerous as lead paint is. 

        If your bathtub has had multiple layers of paint and perhaps even been reglazed before, the risk that it contains lead only goes up.

        When you find out that the bathtub doesn’t contain lead, you are also more free to use the type of sanding device that you find to be easier. This could be either a chemical solution or a sander.

        Here’s an article that outlines the paint strippers we recommend. 

        Whether or not the tub turns out to have lead in it, it’s always a good idea to make sure that you are properly protecting yourself.

        Other lead sources

        Lead may be the biggest issue you would likely be running into. Various small dust particles going down and situating themselves in your lungs isn’t all too desired anyway.

        A good tip to consider is to keep the surface wet. You will also be running into fewer dust issues, which is why it may be a good idea to wet it continuously. 

        Before you even start considering the type of color that you want on this bathtub, you will want to make sure there is no flaky paint on it. 

        The next important step is to apply a primer to the bathtub. Something like a Rust-Oleum, high-performance metal primer may be a good option for you to consider!

        It’s important to know that you won’t be getting a paint job that will last you all that long without a proper primer.

        In the process of applying the primer, you may be doing it in an area where you are concerned about the floors. Put out protection on the floors to avoid any spillage. We recommend 6mm sheeting.  

        Finally, you will need to top the whole thing off with a nice coat of rust-resistant paint that fits the overall look that you are going for with your bathroom. 

        Make sure to read some of our other articles on preventing lead exposure, like the one we just published on frangible ammo

        We will be happy to hear your thoughts

            Leave a reply

            Check4Lead
            Logo
            Login/Register access is temporary disabled