Reviewed By: Certified EPA RRP Lead Abatement Professional, John Allan
Disclosure: The author has a commercial background in lead abatement products. This article may contain affiliate links to EPA-approved safety equipment and coatings.
LEGAL & MEDICAL DISCLAIMER: This guide is for informational purposes only and does not supersede official Environmental Protection Agency (EPA) guidelines. Mishandling lead paint can cause severe health issues. If you suspect lead exposure, seek immediate medical testing. Always consult an EPA RRP-certified professional for lead abatement.
CRITICAL SAFETY WARNING: If your home was built before 1978, that “peeling paint” is likely Lead-Based. Peeling, chipping, or cracking lead paint creates toxic dust that can cause permanent brain damage in children. Do not sand, scrape, or disturb these surfaces until you have read the EPA Safety Protocols outlined in this guide.
Restoring window frames and sills requires precise material science and strict adherence to environmental safety protocols. From managing modern polymer curing times to executing National Park Service historical preservation standards, this guide provides the technical blueprint for structurally sound, weather-resistant window restoration.
Tools and Materials You Will Need
- Safety Gear: Heavy-duty trash bags, spray bottle (for wet scraping)
- Prep Tools: Digital moisture meter, HEPA vacuum, damp tack cloths, sharp paint scraper, medium-grit sanding sponges (100-grit and 220-grit)
- Materials: Acrylic sealants, two-part epoxy consolidants, liquid masking agents, painter’s tape, newspaper
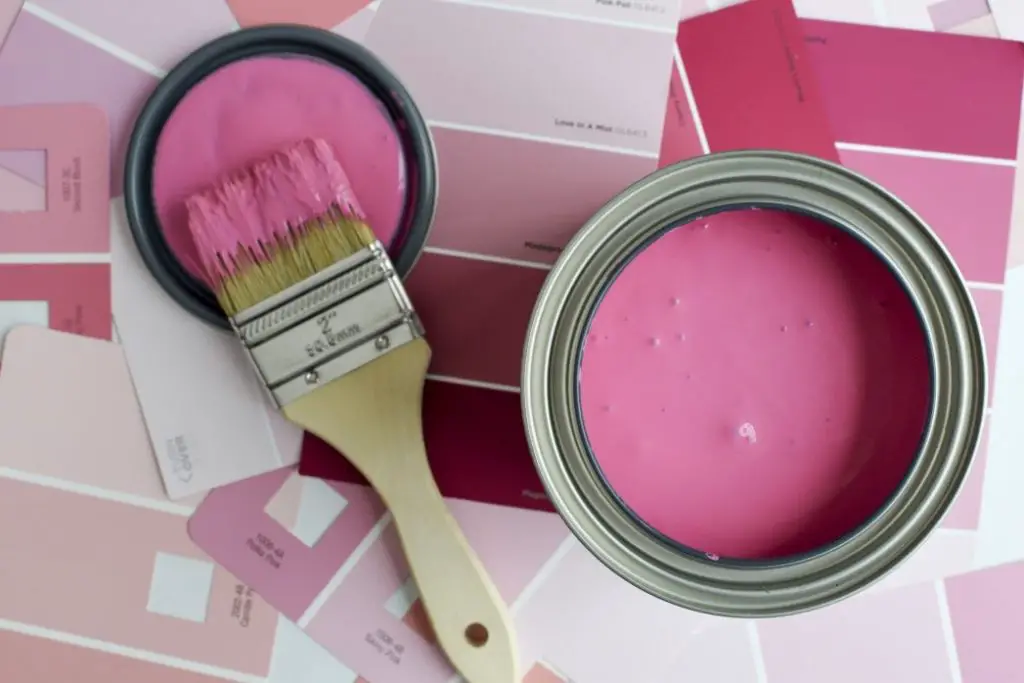
- Paints: Surface-appropriate primer (wood, metal, or vinyl), high-quality enamel paint (e.g., Sherwin-Williams Emerald Urethane or Benjamin Moore Advance), clear paste wax
Phase 1: Preparing Surfaces
1. Test for Lead and Protect the Zone: Place plastic sheets on the ground directly under the windows you will work on to catch any paint chips or dust. If your home was built before 1978, testing must precede all abrasive actions. Never wipe, degrease, or mechanically disturb the surface of a vintage window frame until you have utilized an EPA-recognized rhodizonate or sulfide chemical test kit. Crucially, do not score, cut, or sand pre-1978 paint to test it. Assume the presence of lead and hire an EPA RRP-certified professional to conduct non-destructive XRF testing. Surface swabbing only tests the topcoat and will result in dangerous false negatives. The only way to definitively confirm a surface is completely free of historical lead paint is through professional XRF testing or laboratory analysis.
2. Check Substrate Integrity: Expert tip: Before uncapping your paint, verify the substrate integrity with a digital moisture meter; if the reading exceeds 17%, any new coating is statistically guaranteed to blister within months due to internal vapor pressure.
3. Remove Hardware: If you do not want the installed fixtures to be affected by the paint, remove them first. Remove all hardware (lifts, locks, pulls). To strip old paint, use an EPA-approved commercial lead-safe chemical stripper. WARNING: Never attempt to boil lead-painted hardware or use DIY disposal methods. Toxic wastewater and fumes pose a severe health hazard. All hazardous waste must be disposed of according to your local municipal household hazardous waste facility protocols. When in doubt, hire an EPA RRP-certified contractor.
4. Clean and Degrease (By Material): If your test is positive, halt work. The following steps are exclusively for confirmed lead-free surfaces.
- For Vinyl: Clean the surface by applying a degreaser using a sponge or cloth. Use a mild dish soap solution to degrease without degrading the vinyl. If using chemical removers, ensure they are safe for vinyl (rubbing alcohol and specific PVC-safe cleaners are safe; acetone and strong strippers will melt or warp the material). Use 220-grit sandpaper to lightly sand the surface to remove the “shine” so the paint sticks.
- For Aluminum: Use a dishwashing liquid solution to clean the surface. For hard-to-remove dirt and grease, scrub with a semi-abrasive scouring pad. Remove loose or peeling parts using medium-grit (100-grit) sandpaper.
5. Safe Scraping & Damp Sanding: If there is chipping or peeling paint, it must be removed to create a stable base. If lead paint is confirmed, DIY wet-sanding or scraping is strongly discouraged. Immediately stop work and consult an EPA RRP-certified professional. For confirmed lead-free surfaces, mist the peeling area with a spray bottle of water before touching it. While the paint is damp, use a sharp scraper to gently lift off the loose flakes. Do not force it; if the paint is stuck firmly, leave it alone. Now that the loose paint is gone, roughen the remaining shiny paint so the new primer will stick. Use a medium-grit sanding sponge dipped in water. Squeeze out the excess water and scrub the frames and sills in a circular motion. The goal is a dull, matte finish, not bare wood.
6. Fill Gaps and Remove Dust: Look for gaps present between the glass and the frames and seal them off. When addressing rotted sills, abandon standard cellulose wood fillers. Specific data indicates that these water-based fillers fail rapidly due to water-induced swelling and shrinkage. Instead, strict architectural protocols mandate two-part epoxy consolidants (like LiquidWood). Because these epoxy resins harden chemically, they exhibit zero percent shrinkage and flex with the wood. For sealing glass, traditional linseed oil putty requires 2 to 4 weeks to skin over, though master glaziers use a calcium carbonate dusting to accelerate this. For rapid 24-hour curing, utilize a modern hybrid-polymer glazing sealant. Clean off the surface using a vacuum or a damp cloth. If lead paint is suspected, use a HEPA vacuum. Standard vacuums aerosolize lead dust, poisoning the air.
7. Mask the Glass: Once the surface is clean, dry, and dust-free, you must establish a weather seal. Forensic building science reveals that utilizing standard masking tape on glass is structurally detrimental. If left exposed to solar radiation, the adhesive polymerizes rapidly, permanently bonding to the glass within 7 to 14 days. Furthermore, tape prevents the crucial protective paint overlap. Instead, apply an acrylic-modified liquid mask (like Masking Liquid H2O) directly over the wood and glass to serve as both a primer and peelable shield.
Phase 2: How to Paint Window Frames and Sills
1. Apply Primer: Apply a thin layer of primer and allow it to dry first. The primer should match the surface you will work on. Use a wood primer for wood frames and sills, a metal primer for aluminum, and a vinyl primer for vinyl ones. If you are restoring bare, desiccated timber using linseed oil, apply your oil-based primer immediately while the pretreatment is still wet (the “wet-on-wet” technique). This forces a deep chemical bond within the wood’s cellular structure rather than just sitting on top.
2. Prepare for Painting: Use liquid masking for glass, but standard painter’s tape is acceptable for metal weatherstripping and window tracks. Do not paint the sash tracks, the parting bead (the vertical strip of wood separating the upper and lower sashes), or the blind stop (the exterior frame edge that holds the upper sash in place) as it causes window sticking, which can break glass and cause friction. Immediately remove any spill that gets to those areas.
3. Paint the Sashes and Frames: Apply paint on the inside of the frame first, then going down to the jambs from top to bottom. If working on sliding windows, paint the upper sash first (lower sash raised up, upper sash lowered). Return the upper sash to its original position and drop the lower sash to paint it next.
4. Prevent Sticking: After painting the inside frame of sliding or tilt-out windows, open and close the window a few times to prevent it from getting stuck as it dries. Do this repeatedly every after an hour or two if the sash was not removed.
5. Paint the Sill and Casing: With the windows open, paint the windowsill and casing. The exterior sill faces harsh weather conditions. Acrylic latex paints expand at different rates than the underlying wood. To survive this stress, the sill must maintain a proper downward slope to accelerate water runoff. Crucially, do not paint inside the drip edge (the groove under the sill), as it needs to stay open to let rain drip off rather than soaking into the wood.
The Physics of Sill Failure: Thermal Expansion
Paint films expand at drastically different rates than the wood beneath them when exposed to solar radiation. This differential movement causes the coating to literally tear itself apart from the inside out.
For horizontal sills, do not paint with “W” strokes. Apply a heavy “wave” of paint in strictly parallel lines. This allows the self-leveling agents to merge the brush strokes into a glass-like sheet before they dry.
6. Apply Second Coat: Once it is dry, add another layer. Two coats should be applied at a minimum to get the best coverage and to fully protect the surface. Select your coating based on your schedule constraints: choose Sherwin-Williams Emerald Urethane for rapid 4-hour recoat times, or opt for Benjamin Moore Advance if you prioritize a glass-like, self-leveling finish over application speed.
Phase 3: Drying, Curing, and Maintenance
Avoid working in direct sunlight. If working in a humid environment or while raining, add one to two hours of drying time to the manufacturer’s recommendation. This will help ensure any condensation is removed from the air.
The “Blocking” Danger Zone: Drying vs. Curing
Waterborne alkyd enamels evaporate water rapidly to feel dry, but the chemical hardening process required to prevent windows from fusing shut takes weeks.
To protect the surface, you can apply a clear coat that is polyurethane-based as the final step. However, do not confuse “dry to the touch” with structural durability. Advanced enamels like Emerald Urethane require a full 14-day cure cycle to chemically harden before they can support heavy static loads (like flower pots) without permanent indentation. The surface must be dry before reattaching any fixtures and sashes uninstalled before painting.

Frequently Asked Questions
Why do my windows stick after painting?
Windows stick due to a chemical phenomenon known as blocking. While the carrier solvents evaporate to make the surface ‘dry to touch’ in 4 to 6 hours, the paint requires up to 30 days to undergo its chemical hardening process. Closing a window during this phase permanently welds the uncured polymers together. To entirely bypass this, professional tradesmen apply a clear paste wax or paraffin block directly to the sash tracks after 24 hours, creating a friction-free sacrificial layer that chemically isolates the mating surfaces.
Do I always need to use primer before painting window frames?
Yes. Primer is essential for proper adhesion, especially when dealing with bare wood, exposed vinyl, or aluminum. Always ensure your primer matches the specific material of your frames to prevent premature peeling.
Conclusion and Next Steps
Next Step: Once your sashes are fully cured, learn how to install bronze V-spring weatherstripping to maximize the energy efficiency of your restored historical windows.


